

I've known N since our secondary school days at MGS, and her hen's night was a bittersweet celebration- sweet because she's getting married to Junior College sweetheart Ry, and bitter because marriage signals the beginning of her settling down away from Singapore. Love on the Rocks is my tribute to N and Ry- may their new life together be built on the Rock that is God's word.
The outer shell is composed of 4 sheets of tempered chocolate: 3 to surround the sides and 1 to slice up and stick into the gaps on top of the cake to resemble shards. Because my baking trays are small, I made the sheets in 2 batches.
Here is how to temper chocolate for the outer shell; use it on any cake for the "wow, you made that?" effect.
Adapted from Rose Levy Beranbaum's The Cake Bible
Ingredients:
About 140g Varlhorna Guanaja chocolate (70% cocoa)
Equipment:
3 baking trays
A metal offset spatula
A plastic spatula
A plastic bench scraper
Chocolate tempering sheets (bought a stack from Tools of The Trade)
Optional but good to have: An infrared thermometer. Based on my observations during the tempering process, I've included instructions below for those who don't have one.
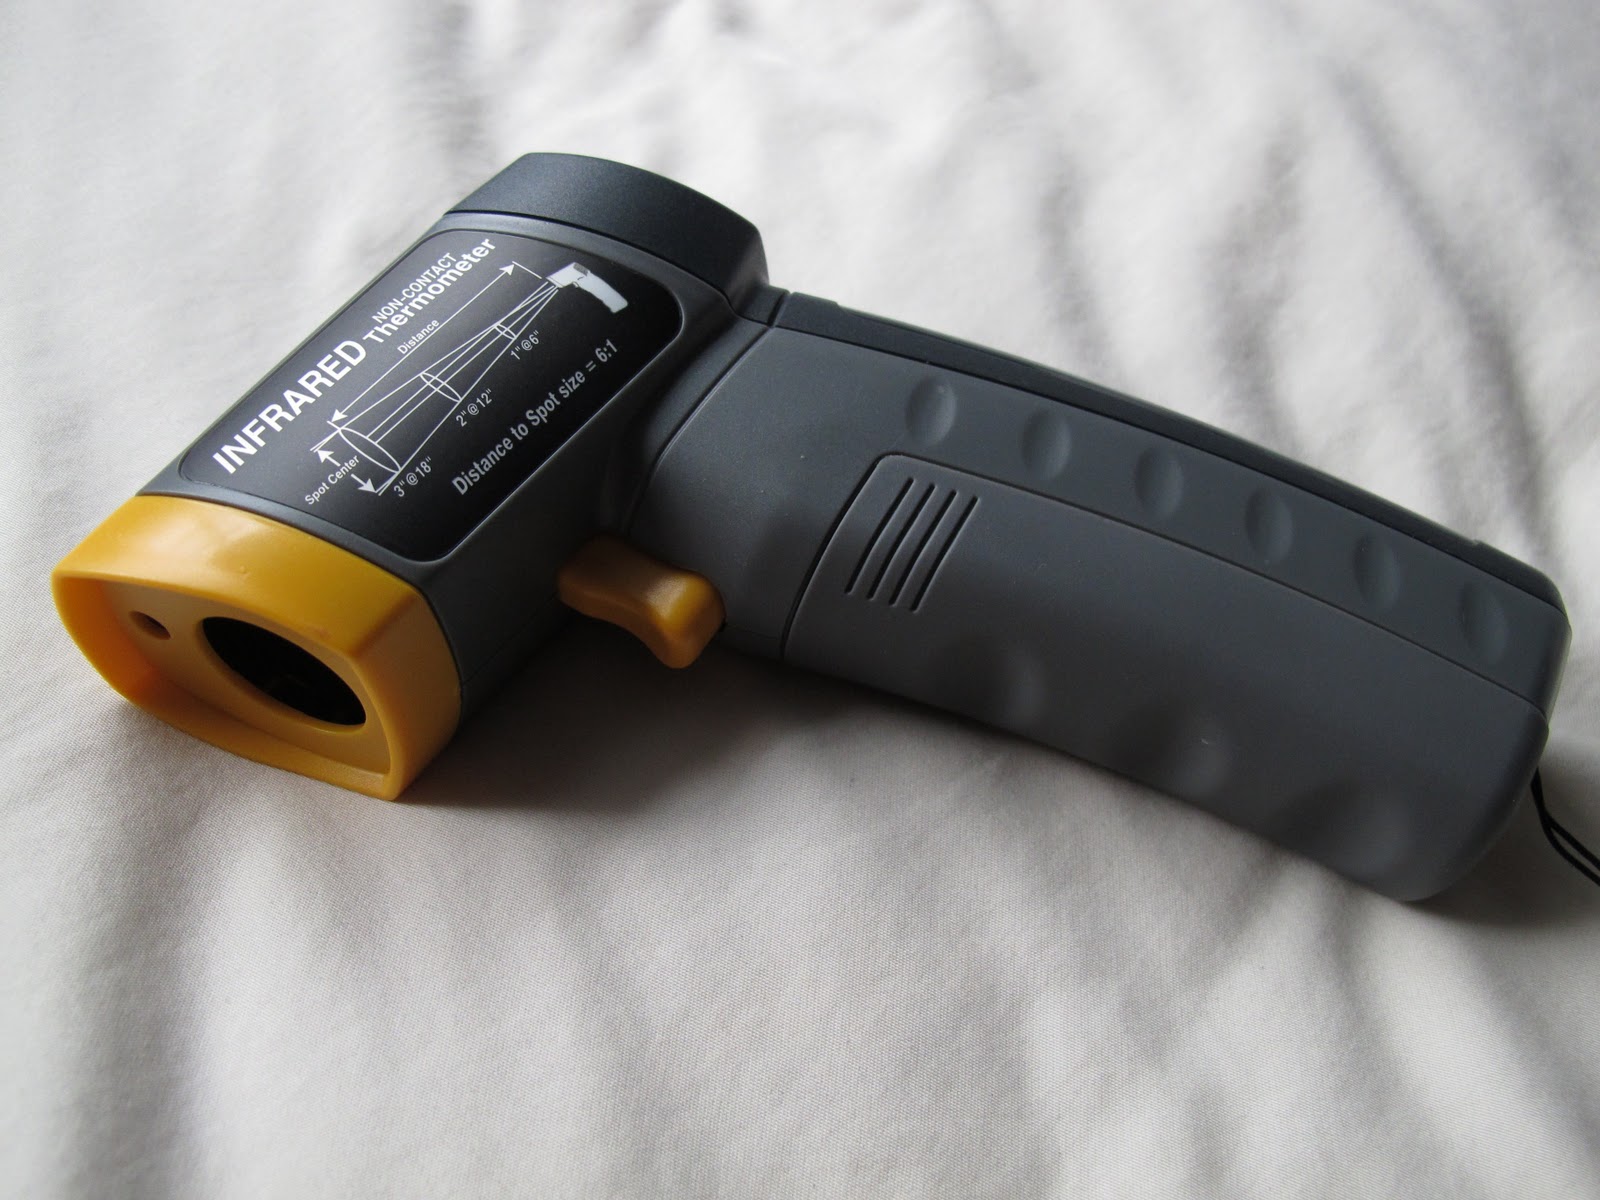 |
| My Infrared thermometer. Purchased for $82 at Mustafa; sounds expensive but it's considered quite a steal! |
1. Set a bowl over a pot of water and turn on the heat medium-low. Break into small pieces half the chocolate (70g) and place them in the bowl.
2. Let chocolate melt. Stir the chocolate around with a plastic spatula every 20 seconds or so to ensure even heat distribution. When about 3/4 of the chocolate has melted, start to stir constantly.
3. When the chocolate reaches 46-49 deg C, remove the bowl and turn off the heat. Wipe the bowl's bottom dry. If you don't have an infrared thermometer, turn off the heat when there are still one or two pea-sized clumps of unmelted chocolate. When all the chocolate has just melted, the temperature should be just right.
4. Quickly pour the chocolate onto the bottom of a baking tray.
5. Using an offset spatula, repeatedly spread the chocolate from left to right all over the baking tray.
6. Using the plastic bench scraper, sweep the chocolate back into the centre of the tray and repeat the spreading process in step 5. Occasionally use the plastic bench scraper to do a cleaning sweep on the offset spatula.
7. When the temperature has reached 31 deg F, stop. If you don't have an infrared thermometer, observe the chocolate thickening as you do steps 5 & 6. The chocolate will keep thickening and feel more sticky under the spatula until a point where it doesn't seem to become any thicker. Stop at this point.
8. Set a chocolate tempering sheet onto the back of a clean baking tray. Pour half the tempered chocolate onto the sheet and spread an even coat. Don't spread too big a layer or it'll be hard to manage.
9. Pop the sheet, still on the baking tray, into the fridge for 5 min. In the meantime, repeat step 8 on another sheet with the remaining half of chocolate.
 |
| Foreground: chocolate spread onto tempering sheet, ready to go into fridge Background: the baking sheet I used to temper the chocolate, the offset spatula and bench scraper |
10. After 5 min, remove the sheet from the fridge. It should be quite hard. Let stand for a little 1 min till it softens slightly and is a little more flexible.
11. Press the chocolate sheet against the sides of the cake then peel away the tempering sheet.
 |
| The first out of three chocolate sheets around the sides |
12. Using a hairdryer, gently blow the sheets from the outer side and watch them curve lazily downward. Don't over blow- stop when you spot the slightest curve in the chocolate. If need be, gently tease the chocolate with a chopstick.
 |
| After a short blast with the hairdryer |
13. Repeat steps 1 to 11 with the remaining 70g of chocolate. However, slice up the last sheet into different sized pieces, sticking them into the gaps to resemble shards.
 |
| Shards! |

Note:
The temperatures given are for tempering dark chocolate.
While the usual process of tempering chocolate is heat, cool, and heat again, I find that Singapore's warm climate means that the chocolate has to cool to the ideal temperature (31 deg c) instead of heat up to it. Thus, I used only a heat-then-cool method, omitting the final heating stage. The warm climate also means that the final ideal temperature of the chocolate is just about room temperature! Which is excellent for those without infrared thermometers.
Feel free to post questions in the comment box!

.........................................................................................................................................................
D left today for another semester in Adelaide. I can't wait for my own hen's night; till then, at least we've got love on the rocks.

No comments:
Post a Comment